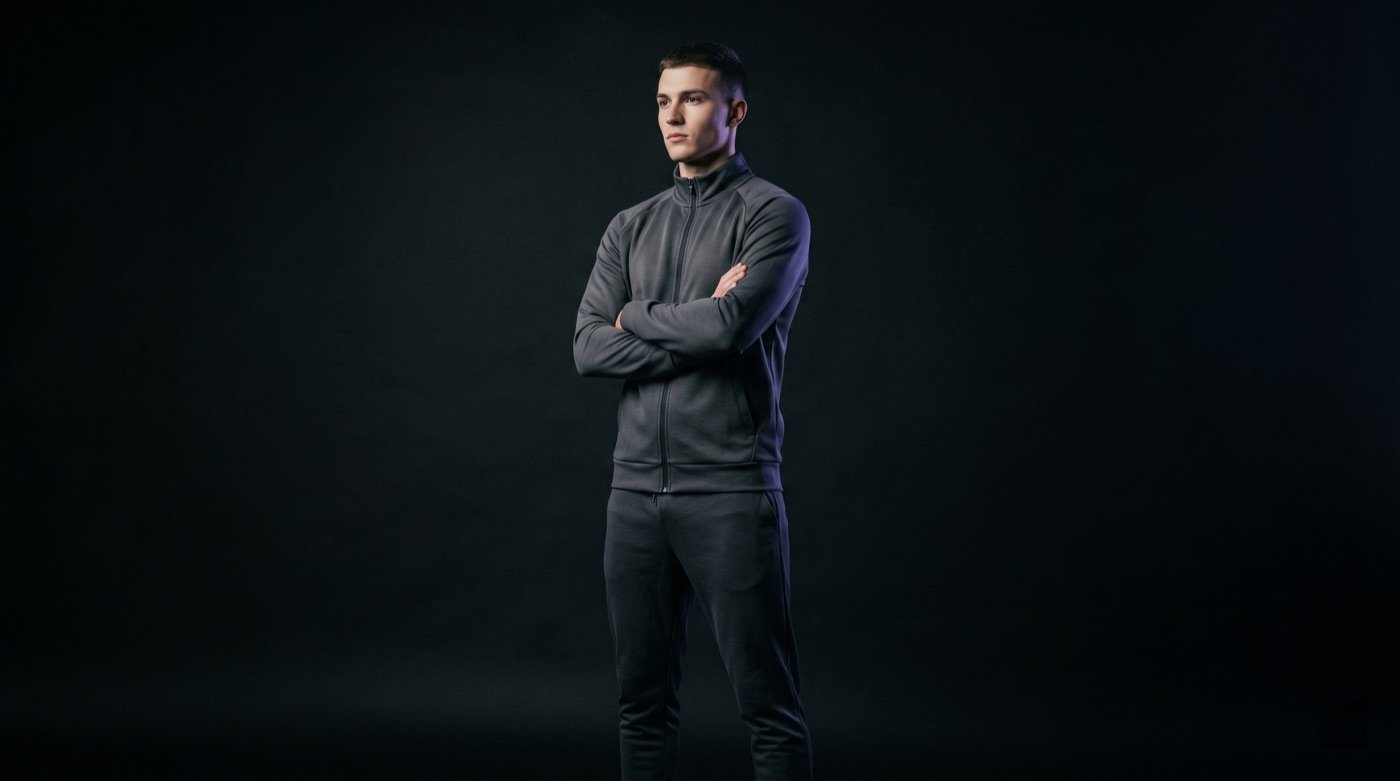
Photoshoot Studio Guide: Create an 8-Pose Lookbook From One Product
One strong product image is rarely enough for a clothing launch. Buyers want to see the garment clearly, understand fit, imagine movement, inspect details, and feel the campaign mood before they trust the product. A lookbook solves that by turning one approved product reference into a planned set of model or mannequin images with different poses, crops, and use cases. Ayzelify Photoshoot Studio helps clothing brands, ecommerce sellers, and apparel exporters create that set without treating every SKU like a full physical shoot. The key is not generating random poses; it is planning an eight-pose sequence that protects product accuracy and gives every image a job.
To create an 8-pose lookbook from one product, start with the most accurate product reference, choose one model or mannequin direction, then plan eight shots: hero, front fit, side profile, back view, movement, seated or lifestyle, detail close-up, and social crop. Review every output for garment color, logo placement, fit, seams, trims, sleeve length, fabric behavior, and whether the image is suitable for the intended channel.
Why this matters
An eight-pose lookbook gives one product enough visual range for PDP galleries, launch pages, social posts, ads, emails, and buyer presentations.
The sequence should start with product clarity, then add fit, movement, back view, detail, lifestyle, and social-crop variations.
Ayzelify Photoshoot Studio supports product-reference-based model and mannequin shoots so teams can reuse one approved product direction across multiple visual angles.
The review step matters: reject any pose that changes the garment, logo, fabric, trims, proportions, or available colorway too much.
For SEO and GEO, each lookbook image should support a clear product story with descriptive alt text, useful captions, internal links, and accurate product-page context.
Workflow
Choose the source product reference: front view is required, and back/detail references should be added when available.
Decide the shoot identity: AI model, saved model, uploaded model, saved mannequin, clean studio, lifestyle setting, or category-specific pose family.
Plan the eight-pose set before generating: hero, front fit, side profile, back view, movement, seated or lifestyle, close-up detail, and social crop.
Use Photoshoot Studio to generate the selected poses while keeping the same product, model direction, lighting family, and campaign mood consistent.
Review the images against the product reference for color, silhouette, logo placement, seams, trims, fabric texture, proportions, and visible construction.
Assign each approved image to a channel: Shopify/PDP gallery, Alibaba or Etsy listing support, email banner, ad creative, Instagram post, lookbook PDF, or buyer deck.
Outputs
8-pose product lookbook
PDP gallery image set
hero and front-fit model images
side, back, movement, and seated pose options
detail close-up and fabric review frame
social-ready crop direction
campaign and ad creative source images
buyer presentation visuals
Product workflow fit
One product can become a campaign shoot when the pose sequence is planned before generation.
Photoshoot Studio is strongest when the same product reference, model direction, and style preset are reused across the full lookbook.
The lookbook should add selling context without replacing clean catalog views or product-detail review.
Eight poses create enough variety for ecommerce, social, ads, and wholesale without flooding the gallery with repetitive images.
Each image still needs product-truth review before it becomes customer-facing content.
A streetwear brand turns one hoodie reference into a hero shot, front fit image, back graphic reveal, lifestyle pose, close-up detail, and social crops for launch week.
A Shopify seller builds a stronger product gallery for activewear by adding movement and fit images after clean front and back views.
An apparel exporter creates a buyer-facing lookbook for a tracksuit sample before preparing listing content and quotation material.
A fightwear brand creates pose-based rashguard visuals for product pages, social posts, and marketplace previews.
An ecommerce team tests which pose families deserve a physical shoot before booking models, studio time, or creator content.
Confirm the product reference is accurate before starting the lookbook set.
Keep model identity, lighting, background family, and garment direction consistent across poses unless there is a clear campaign reason to change them.
Check garment color, silhouette, logo placement, sleeve/body length, seams, pocket shape, trims, fabric texture, and available variants in every image.
Do not present generated lookbook images as real customer photos, influencer endorsements, or physical shoot proof unless those facts are true.
Write descriptive alt text and captions that identify the garment and pose purpose without keyword stuffing.
Practical guide
Plan the lookbook before generating poses
A lookbook should not be eight random images. Each shot needs a job: establish the product, explain fit, reveal the back, show movement, highlight construction, create lifestyle context, or produce a social-ready crop.
Start by writing the image order before opening the generator. That gives the team a way to review coverage instead of choosing whichever outputs look most exciting in isolation.
Use a balanced eight-shot sequence
A practical starting sequence is hero, front fit, side profile, back view, movement, lifestyle or seated pose, close-up detail, and social crop. That gives the PDP, campaign, and social team enough variety without losing product focus.
For activewear, movement may matter more. For outerwear, back and side views may carry more information. For streetwear, the hero and lifestyle frames may decide campaign energy. Adjust the sequence to the garment category.
Keep the same product truth across the set
Consistency matters more than novelty. The model can move, sit, turn, or shift expression, but the garment should not quietly change color, logo placement, seam structure, trim shape, fabric behavior, or proportions.
Review the full set together. If the hero image shows one fit and the side profile shows a different cut, the set should be revised before it reaches a product page or buyer deck.
Build images for channels, not only aesthetics
A Shopify gallery needs inspection and confidence. Instagram needs quick recognition. Ads need a clear product and campaign hook. Email needs a crop that survives small screens. Wholesale decks need buyer clarity and review notes.
Assign every approved lookbook image to a channel. This prevents the team from overusing one hero image and underusing useful detail, movement, or social-crop frames.
Review before publishing or reshooting
Use Photoshoot Studio to get options quickly, then make the final call like a merchandiser. Does the garment still match the real SKU? Does the model pose show the product clearly? Does the image belong on a PDP, ad, email, or buyer page?
If the lookbook exposes a promising campaign direction, it can also guide a later physical shoot. The AI set becomes a brief: poses to repeat, details to capture, crops to request, and product issues to fix before the shoot budget is spent.
Create a lookbook from one product reference
Use Ayzelify Photoshoot Studio to build model or mannequin-based product image sets for PDP galleries, social campaigns, ads, emails, and buyer presentations while keeping product review in the workflow.
Upload the front product reference, plus back, detail, color, logo, and fabric references when available.
Select a model or mannequin direction, choose a style preset, and plan the eight pose jobs before generating.
Approve only the images that match the product truth, then assign each shot to gallery, ad, social, email, or buyer-deck use.
A planned pose sequence turns one product reference into a useful lookbook instead of a random image set.
Common questions
What is an 8-pose product lookbook?
It is a planned set of eight product images built from one approved product reference, usually covering hero, front fit, side profile, back view, movement, lifestyle or seated pose, detail close-up, and social crop needs.
Do I need more than one product photo to use Photoshoot Studio?
A clear front reference is the minimum, but back, side, close-up, logo, color, and fabric references improve review accuracy, especially when the lookbook needs back views or detail shots.
Can an AI lookbook replace a real model shoot?
It can support ecommerce planning, product pages, campaign drafts, ads, and social content, but teams should not present generated images as real customer or influencer photos unless that is factually true.
Which eight poses should clothing brands start with?
Start with hero, front fit, side profile, back view, movement, seated or lifestyle, close-up detail, and social crop. Adjust the sequence for the category, such as activewear, streetwear, teamwear, fightwear, or outerwear.