Short answer
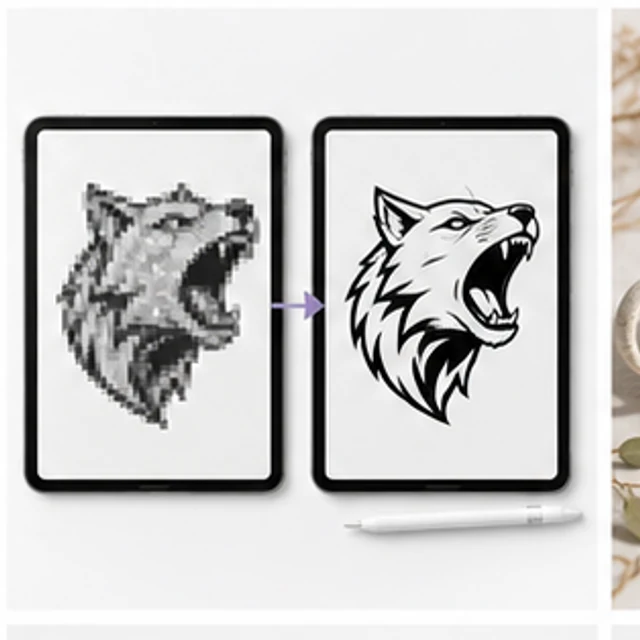
To convert a T-shirt mockup design into vector artwork, first isolate the authorized graphic from the shirt. Use the original flat artwork when available; otherwise crop and recover the design with Ayzelify Print Lift, then upload the clean raster into Vectorize Studio. Choose a Logo, Artwork, or Scan preset, preview the trace, tune color count, curve precision, speckle removal, shape behavior, and grouping, then export SVG, PDF, EPS, DXF, or PNG. Compare the result with the source and correct text, paths, colors, scale, and print-method requirements before production.
Why this matters
Use the original logo or flat artwork whenever it exists; mockup recovery is a fallback for missing source files.
Separate the printed graphic from the T-shirt before tracing so fabric, wrinkles, shadows, and perspective do not become paths.
Choose Logo, Artwork, or Scan presets according to the source and tune palette, curves, speckle removal, shapes, stacking, and grouping.
Preview the vector and inspect typography, negative space, corners, curves, colors, transparency, and node complexity against the approved reference.
Choose SVG, PDF, EPS, DXF, or PNG based on the next operator rather than treating every export as interchangeable.
Vector artwork still needs rights, physical size, placement, color, print-method, sampling, and factory approval before production.
Practical guide
Start with the original artwork before tracing a mockup
Ask the buyer, brand, or previous designer for the original AI, EPS, SVG, PDF, or high-resolution transparent file first. An official source preserves exact typography, curves, layers, color definitions, and proportions more reliably than any reconstruction. Converting a mockup should be the recovery path when the source is genuinely missing, not a shortcut that replaces an available master. Confirm commercial permission before recreating a logo, licensed illustration, sponsor mark, or another party's protected design.
If the mockup is the only evidence, collect the largest version plus straight-on product photos, detail crops, official wording, color references, and physical placement dimensions. Decide whether the desired output is an approval SVG, screen-print separation source, DTF or DTG artwork, vinyl or laser-cut path, embroidery geometry reference, packaging mark, or tech-pack attachment. That output role determines how much simplification, editability, and production preparation the final vector needs.
Remove the T-shirt before tracing the design
A vectorizer traces visible boundaries. If the input still contains jersey knit, folds, chest curvature, stitching, a neckline, shadows, highlights, compression noise, or background objects, those details can become hundreds of useless shapes. Crop the artwork tightly while preserving every real edge. When the design is distorted by the garment, use Ayzelify Print Lift to dewarp and rebuild a clean raster reference on a flat background. For unreadable text or hidden areas, request better evidence rather than asking the tool to invent content.
Simple front-facing mockups with an already isolated graphic may need only a clean crop and background removal. Complex photographed garments usually need the two-stage workflow: Print Lift first, Vectorize second. Keep the lifted result beside the original product image during review. The recovered raster should preserve the graphic, not the T-shirt silhouette, fabric texture, lighting, or photographic perspective.
Choose the trace preset and tune only what matters
Ayzelify Vectorize Studio accepts PNG, JPG, WebP, GIF, BMP, and TIFF files up to 30 MB. Upload, drop, or paste the isolated graphic, then choose the closest preset. Logo favors clean edges and bold shapes. Artwork is suited to detailed illustrations and multicolor graphics. Scan is designed for scanned or hand-drawn sources. Generate the preview before committing to a production file so path problems are visible while the settings can still be changed.
Fine-tune controls should serve a specific defect. Lower the maximum color count when screen print or a limited palette requires consolidation. Adjust curve precision to balance source fidelity with smoother paths. Increase speckle removal to ignore scan dust and compression fragments without deleting intentional small details. Choose filled shapes, stroked shapes, or edges; decide whether shapes use cutouts or stacks; and group SVG nodes by color, parent, layer, or not at all according to the next editor's needs. More nodes and colors are not automatically more accurate.
Inspect the preview like production artwork
Compare the trace with the approved source at both overview and high zoom. Check silhouette, proportions, symmetry, curves, sharp corners, outlines, holes, counters, interior spacing, small islands, color boundaries, and transparent regions. Look for double edges, jagged paths, gaps, unexpected fills, merged colors, excessive anchor points, and tiny fragments. Zoom back out to confirm that cleanup has not changed the character of the design.
Typography needs a separate check. A trace often converts letters into shapes, so they may look like text but no longer behave as editable type. Ayzelify Refinement Studio can edit live SVG text elements when they exist, but traced glyphs are commonly paths. Compare every letter and number, then rebuild important wording from the approved font or official wordmark where possible. Never approve misspelled or visually similar replacement text because it looked acceptable in a thumbnail.
Export for the next operator and refine the SVG
Vectorize Studio offers SVG, PDF, EPS, DXF, and PNG. SVG is useful for scalable editing and browser workflows; PDF supports broad proofing and design handoff; EPS remains common in legacy print workflows; DXF can support cutting-oriented path exchange; and PNG provides a rerasterized output when the next process needs pixels. The format label does not guarantee production suitability, so ask the printer, cutter, designer, or factory what they need and test that file in their software.
When an SVG is available, Ayzelify can open it in Refinement Studio. Designers can select or hide shapes, change individual fills and strokes, recolor every shape sharing a color, remove a detected background, adjust stroke width and opacity, crop the viewBox, edit live text, reset the file, and download a refined SVG. Use those tools for controlled cleanup, not to disguise a poor trace. If the design requires major curve reconstruction, exact font work, separations, or fewer nodes, continue in a dedicated vector editor or redraw it manually.
Approve the vector for the actual T-shirt process
A clean SVG is not automatically a print-ready T-shirt file. Confirm physical width and height, placement from collar or seams, garment size assumptions, print colors, spot-color names, transparency, underbase, trapping or bleed, minimum line width, halftones, gradients, and the interaction with the garment color. Screen print, DTF, DTG, sublimation, vinyl, embroidery, and transfer processes do not share one file standard. Embroidery also needs digitizing decisions that a vector does not contain.
Create a proof or sample at intended size, record corrections, and package the source mockup, isolated raster, preview, corrected vector, export formats, print specification, version, rights confirmation, and buyer or production approval. For public web use, Google recommends a representative high-quality image near relevant text, a descriptive filename, and useful alt text without keyword stuffing. The SEO asset explains the workflow; the private production package proves which artwork was actually approved.